Toon Boom Fundamentals - The Basics Part 1
This the beginning of a new "Basics" series for Toon Boom Studio. I plan on covering in detail many of the fundamental concepts of working with TBS in this series. In this Part 1 you will learn about some of the differences between "image" elements and "drawing" elements. You will learn how to import images into "image" elements and also how to import images into "drawing" elements. You will learn how to use the "set exposure" command to adjust and tweak the timing of an animation sequence. And you will learn how to cut up and animate your imported images. It is a very detailed tutorial and after you have read through it once or twice you are encouraged to actually do the work yourself because that's the best way to learn. I've included a download of the images I used at the end of this tutorial.
While doing some research on another project, I came across this great series of boxing poses. I don't remember the name of the artist who made these images but I knew they would make great imports for a TBS animation tutorial.
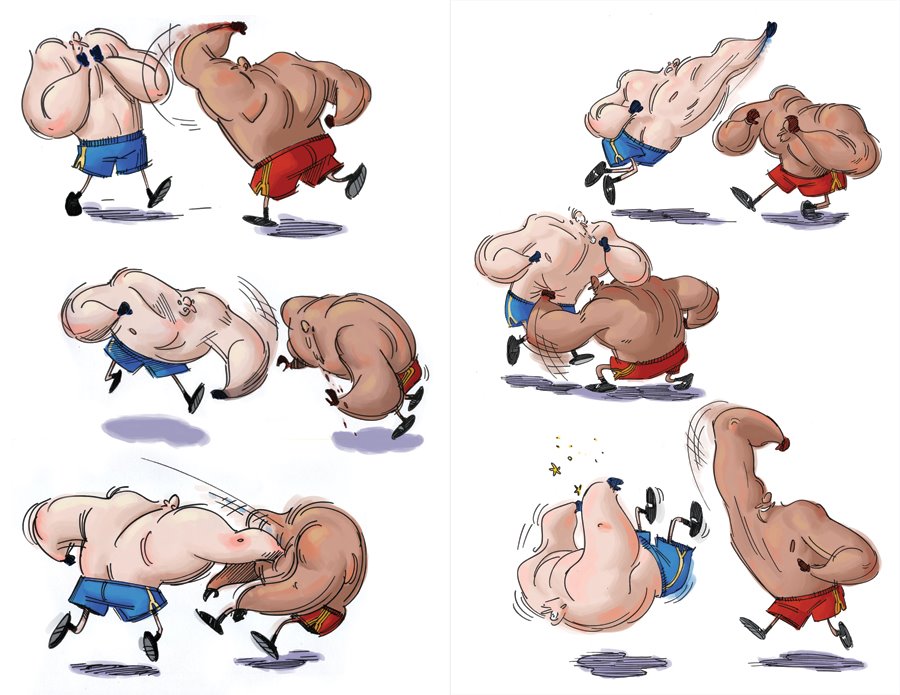
I imported the original image into Photoshop and cut out each pose, placed them on to transparent backgrounds and saved each one as a PNG formatted image file.
In the first slide show we will import those six PNG files into a TBS "image" element and create an animation sequence. Then we will adjust the timing of that sequence to learn more about how to use the timeline in our animating.
If you followed along through the first slide show then you now know how to import image files into a sequence in an "image" element. You know how to slow down the overall animation by adding more frames to the sequence and you know how to use the Set Exposure command to adjust and tweak the timing of your animation sequence.
Next we will learn how to import the same image files into a "drawing" element into what is called a "vector box". Then we will cut up and separate the boxers into different "drawing elements".
I hope you followed everything in that slide show. If so, then you now know how to import the image files into "drawing elements". You have learned to use the import and vectorize with textures command to create "vector box" versions of your images. You learned to use the Reposition All Drawings tool to scale and flip and move all the cells in a "drawing" element at the same time. You also learned how to cut the boxers apart and put them into separate elements so they can be animated independently.
Next we will separate the shadows from the boxers similarly to the way we separated the boxers. Then we will set the rotational pivot points for each element and then we will use keyframing to animate some additional action.
It is a really simple animation sequence and I left you plenty of creative room to experiment on your own after you work through the basic tutorial. I hope that you learned a lot of fundamentals both about animating in general and animating in TBS in specific. Here is the BOXING file to download, unzip and import when you work through the tutorial. As always I'm available for answering questions either directly via e-mail or here on the blog or at the discussions area of the Cartooning in Toon Boom WIKI or over at the Toon Boom Studios forums.
We will cover some new ground next time in Toon Boom Fundamentals - The Basics Part 2. Until then, I want to give a special "Thank You" to all of you who have "Donated" to help support the creation and publishing of these articles and tutorials. And for those of you who find real value here but haven't yet "Donated", please keep us in mind. Your support is very important.
While doing some research on another project, I came across this great series of boxing poses. I don't remember the name of the artist who made these images but I knew they would make great imports for a TBS animation tutorial.
I imported the original image into Photoshop and cut out each pose, placed them on to transparent backgrounds and saved each one as a PNG formatted image file.
In the first slide show we will import those six PNG files into a TBS "image" element and create an animation sequence. Then we will adjust the timing of that sequence to learn more about how to use the timeline in our animating.
If you followed along through the first slide show then you now know how to import image files into a sequence in an "image" element. You know how to slow down the overall animation by adding more frames to the sequence and you know how to use the Set Exposure command to adjust and tweak the timing of your animation sequence.
Next we will learn how to import the same image files into a "drawing" element into what is called a "vector box". Then we will cut up and separate the boxers into different "drawing elements".
I hope you followed everything in that slide show. If so, then you now know how to import the image files into "drawing elements". You have learned to use the import and vectorize with textures command to create "vector box" versions of your images. You learned to use the Reposition All Drawings tool to scale and flip and move all the cells in a "drawing" element at the same time. You also learned how to cut the boxers apart and put them into separate elements so they can be animated independently.
Next we will separate the shadows from the boxers similarly to the way we separated the boxers. Then we will set the rotational pivot points for each element and then we will use keyframing to animate some additional action.
It is a really simple animation sequence and I left you plenty of creative room to experiment on your own after you work through the basic tutorial. I hope that you learned a lot of fundamentals both about animating in general and animating in TBS in specific. Here is the BOXING file to download, unzip and import when you work through the tutorial. As always I'm available for answering questions either directly via e-mail or here on the blog or at the discussions area of the Cartooning in Toon Boom WIKI or over at the Toon Boom Studios forums.
We will cover some new ground next time in Toon Boom Fundamentals - The Basics Part 2. Until then, I want to give a special "Thank You" to all of you who have "Donated" to help support the creation and publishing of these articles and tutorials. And for those of you who find real value here but haven't yet "Donated", please keep us in mind. Your support is very important.
Labels: Fundamentals, Key Framed Animation, Tutorial


2 Comments:
Thanks - that clears a few things up.
man tnx for all that you do, good job, even if I know this because I animate in toon boom 4.5 :)
Post a Comment
<< Home